I want to share with you how to avoid common painting mistakes that most amateurs make and even some pros.
I started Klappenberger & Son in 1989 and have completed jobs of all sizes and industries. I learned from either the school of hard knocks or through Mark Coale, owner of MD Paint & Decorating.
I created this list for you to have easy access to use. Please save it as a favorite if you paint frequently.
Common Interior Prep Painting Mistakes
Spackle – if you are patching a wall where a hole or a structural crack, do not use Easy Sand for all three passes. Use either a green top spackle, elastomeric, or Durabond. It will have a much better chance not cracking.
Spackle – Allow the spackle to dry 100%, not 99% but 100%. Otherwise, the paint can peel.
Drywall sanding – do not sand with a palm sander to sand spackle spots.
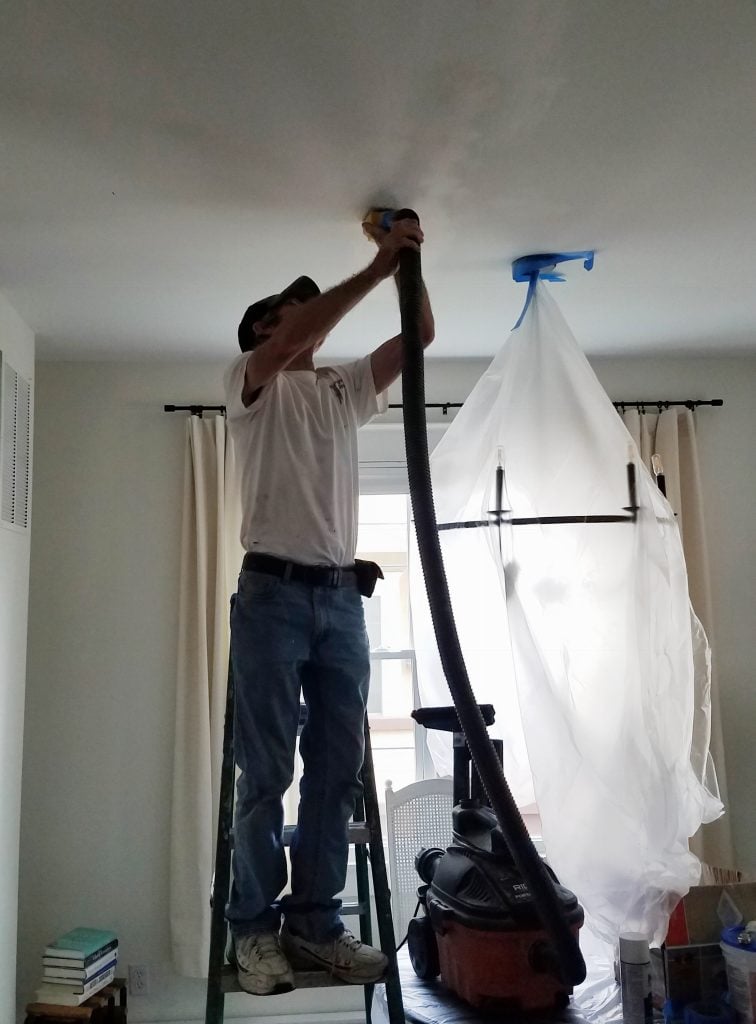
Sanding the Spackle use – a vacuum attachment can be bought at the big box stores. It costs about $30.00 and can control the spread of spackle dust.
Covering furniture – apply two layers of plastic and carefully roll up the first layer when finished. Some spackle dust will go up in the air, and the second layer will catch it when it settles.
Wall prep – Remove wall plates before sanding.
Sandpaper walls with 120 grit sandpaper on a sanding pole takes very little time and makes a huge difference in the quality finish.
Sanding Trim – Yes. 150-180 grit sandpaper. Use 220 if you want it super smooth.
Tip – Get the best acrylic caulk you can find. Even the mid-grade does not have good elasticity.
Ceiling Painting Tips
Painting ceilings is a pain in the neck. These ceiling painting tips can dramatically reduce the time, and improve the overall finish.
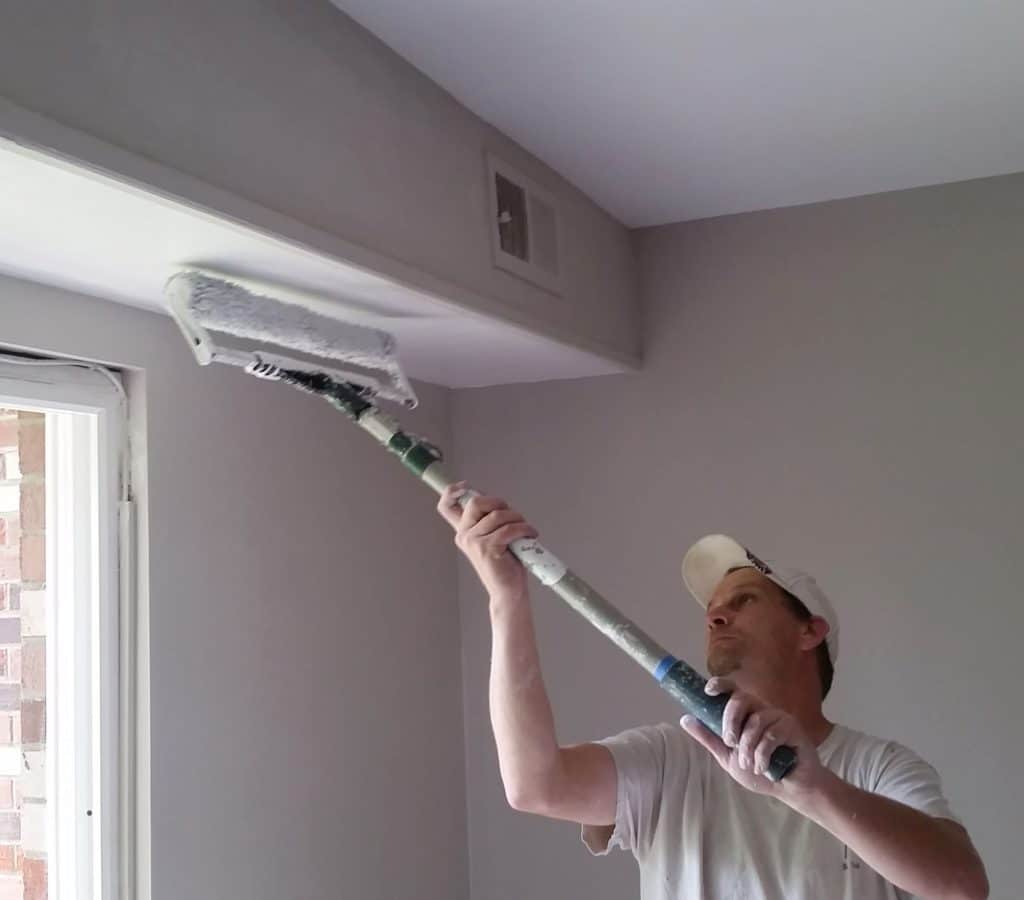
Ceiling Tip – Paint the ceilings first and cut in with a 9″ 3/4 nap roller. Major time saver.
Sequence – Paint ceilings before trim and walls.
Ceiling – Dont brush or use a min-roller to cut in around the edge of a ceiling, instead
An ounce of prevention – cover your floors etc. all ceiling paint splatters a little.
Ceiling – if you are painting over 1,000 square ft of ceilings, consider upgrading to an 18″ roller set-up.
Trim Painting Tips
Painting trim is generally about 35-40% of the total job. Anything to help reduce the time would be beneficial.
Sand the trim – lightly sand the trim with 180-grit sandpaper. If the trim is in excellent shape, jump to 220 grit. Wipe the surfaces clean with a microfiber cloth.
Paint Brush – Buy a high-quality brush. My favorite is a Wooster.
Buying a cheap brush will make it impossible to do a good job and take longer.
Use a high-quality and good covering trim. I compared three premium-grade paints, and these were my results.
Coverage is critical– ALL SEMI-GLOSS paints have excellent washability. If you can get a semi-gloss to cover in one coat, you have saved hours, if not days, of painting. Behr Dynasty and Marquee are two of the best covering semi-glosses. Watch What Sherwin Williams Paint Covers The Best for more information on the best covering semi-gloss.
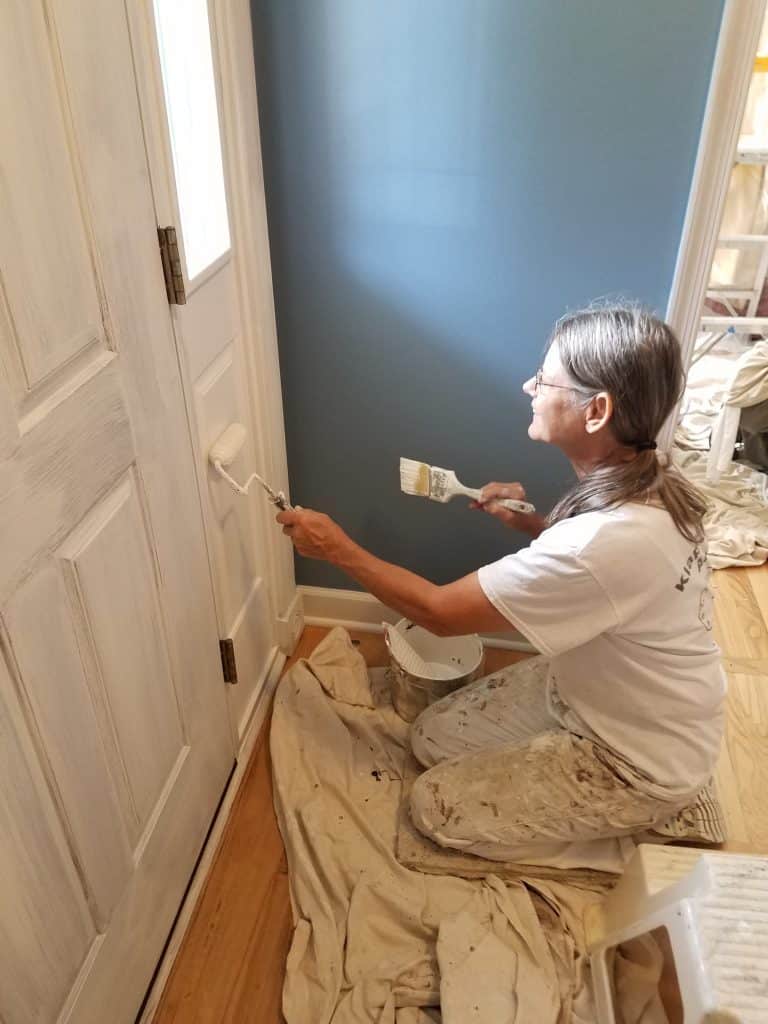
Paint – doors, windows, chair rails, and crown molding BEFORE the walls. It is faster and cleaner to paint the walls after the trim has been painted.
Time Saver Trim Tips
Roll trim areas where possible and then immediately brush. This is called Back brushing. The roller puts the paint on faster, and the brush knocks down what would be a nappy finish.
Adding a latex conditioner allows the paint to spread with ease. You will find a significant increase in speed and less fatigue.
Wall Painting Tips
Roller – the most common mistake DIYers make is rolling the paint too long. When the sheen varies, or it has patches of rough and smooth areas, it probably rolled too much.
This mostly happens with eggshell paint and higher sheens. Please apply with a moderately heavy amount, spread it, and leave it alone.
Roller nap – 1/2 nap will work unless you apply a semi-gloss or gloss.
Removing the loose nap on a roller – Unroll about 3 feet of tape and step on one end while holding the tape. With the roller attached to the frame, run it up and down the sticky side of the tape to remove loose hairs. When you see nap hairs on dried paint, it is because this step was skipped.
Taping or Not Taping – Standard blue tape will not give you a straight line. Using blue tape to provide a straight line will give you a false sense of security.
I recommend buying a premium paintbrush, such as a Wooster.