

What are the essential steps to selling a house in a changing market? According to Chad Kerr of Your Home Sold Guaranteed Realty – Kerr
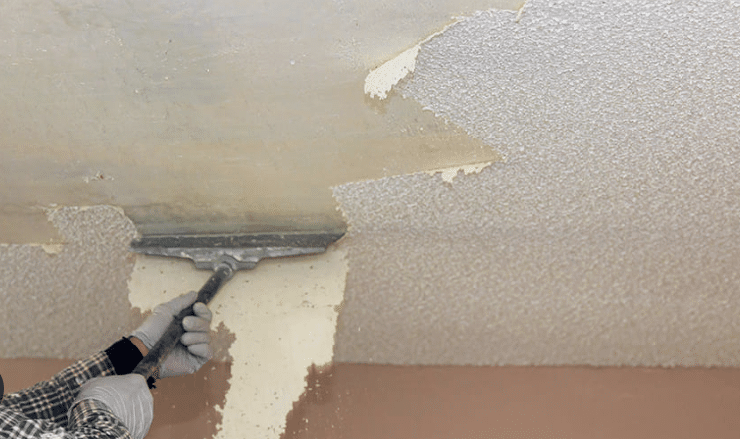
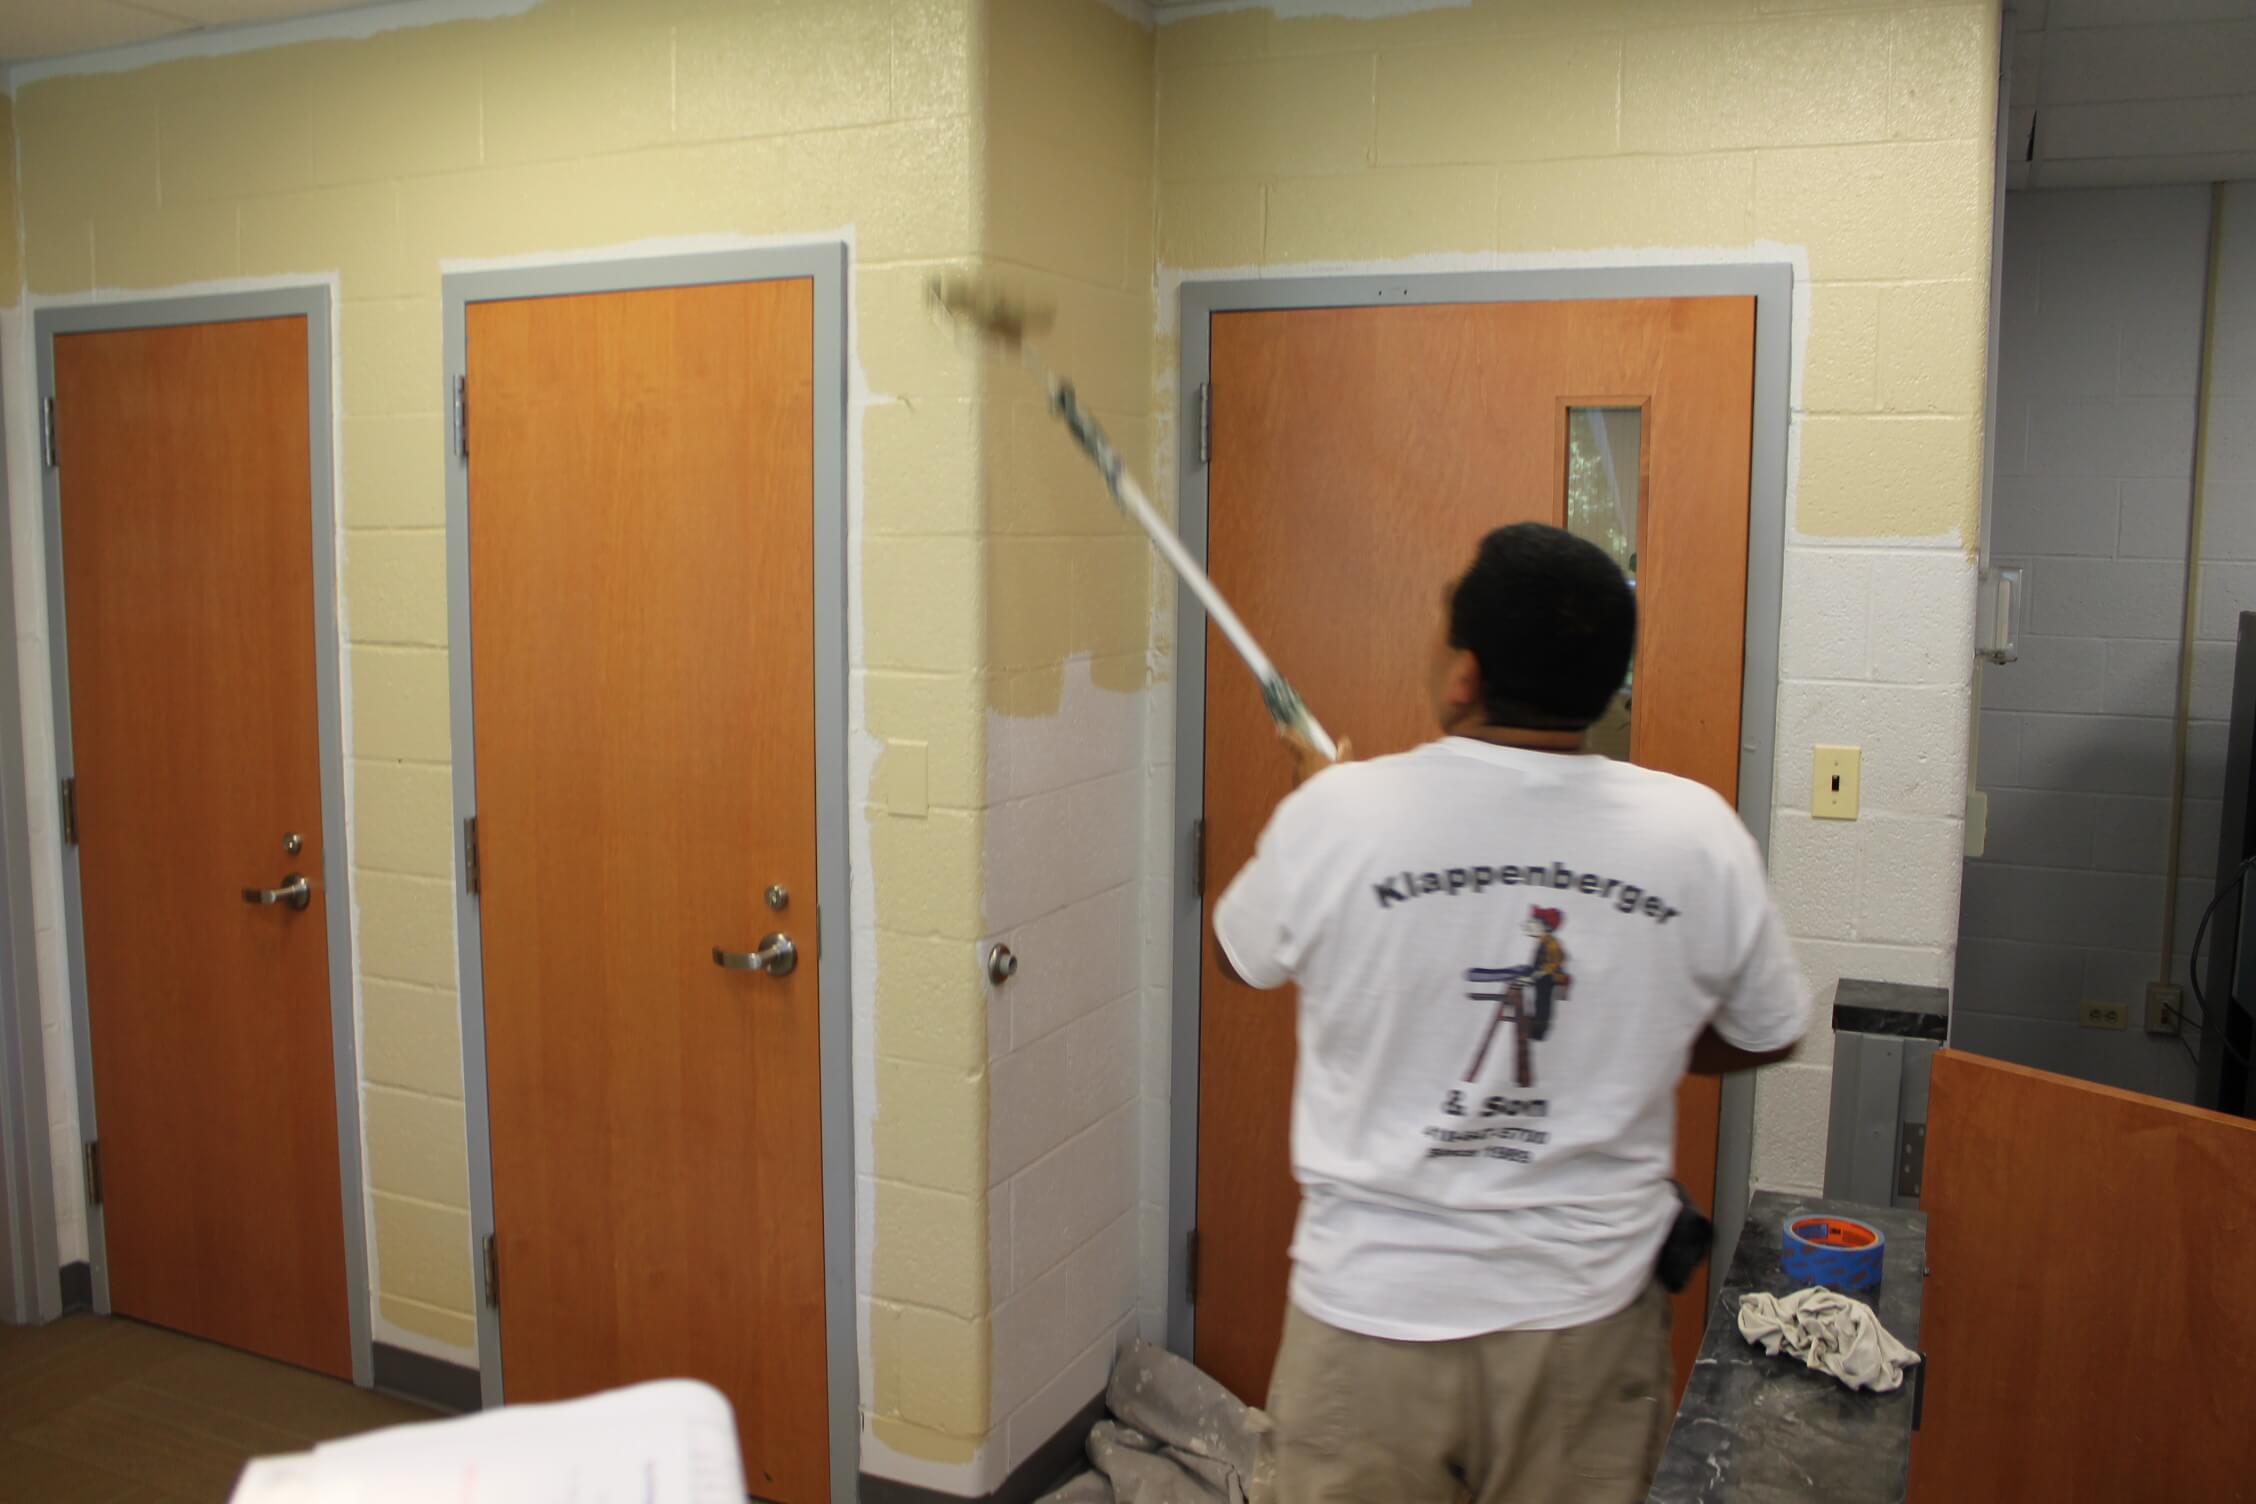
I want to share with you how to avoid common painting mistakes that most amateurs make and even some pros. I started Klappenberger & Son
When you want the highest sheen possible, you will want a high gloss or gloss paint. FYI, this is NOT what you typically put on
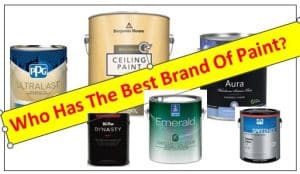
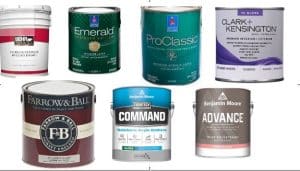
What is the best paint brand can be difficult when we have over 975 paint manufacturers making many paints. However, I have tested and used hundreds

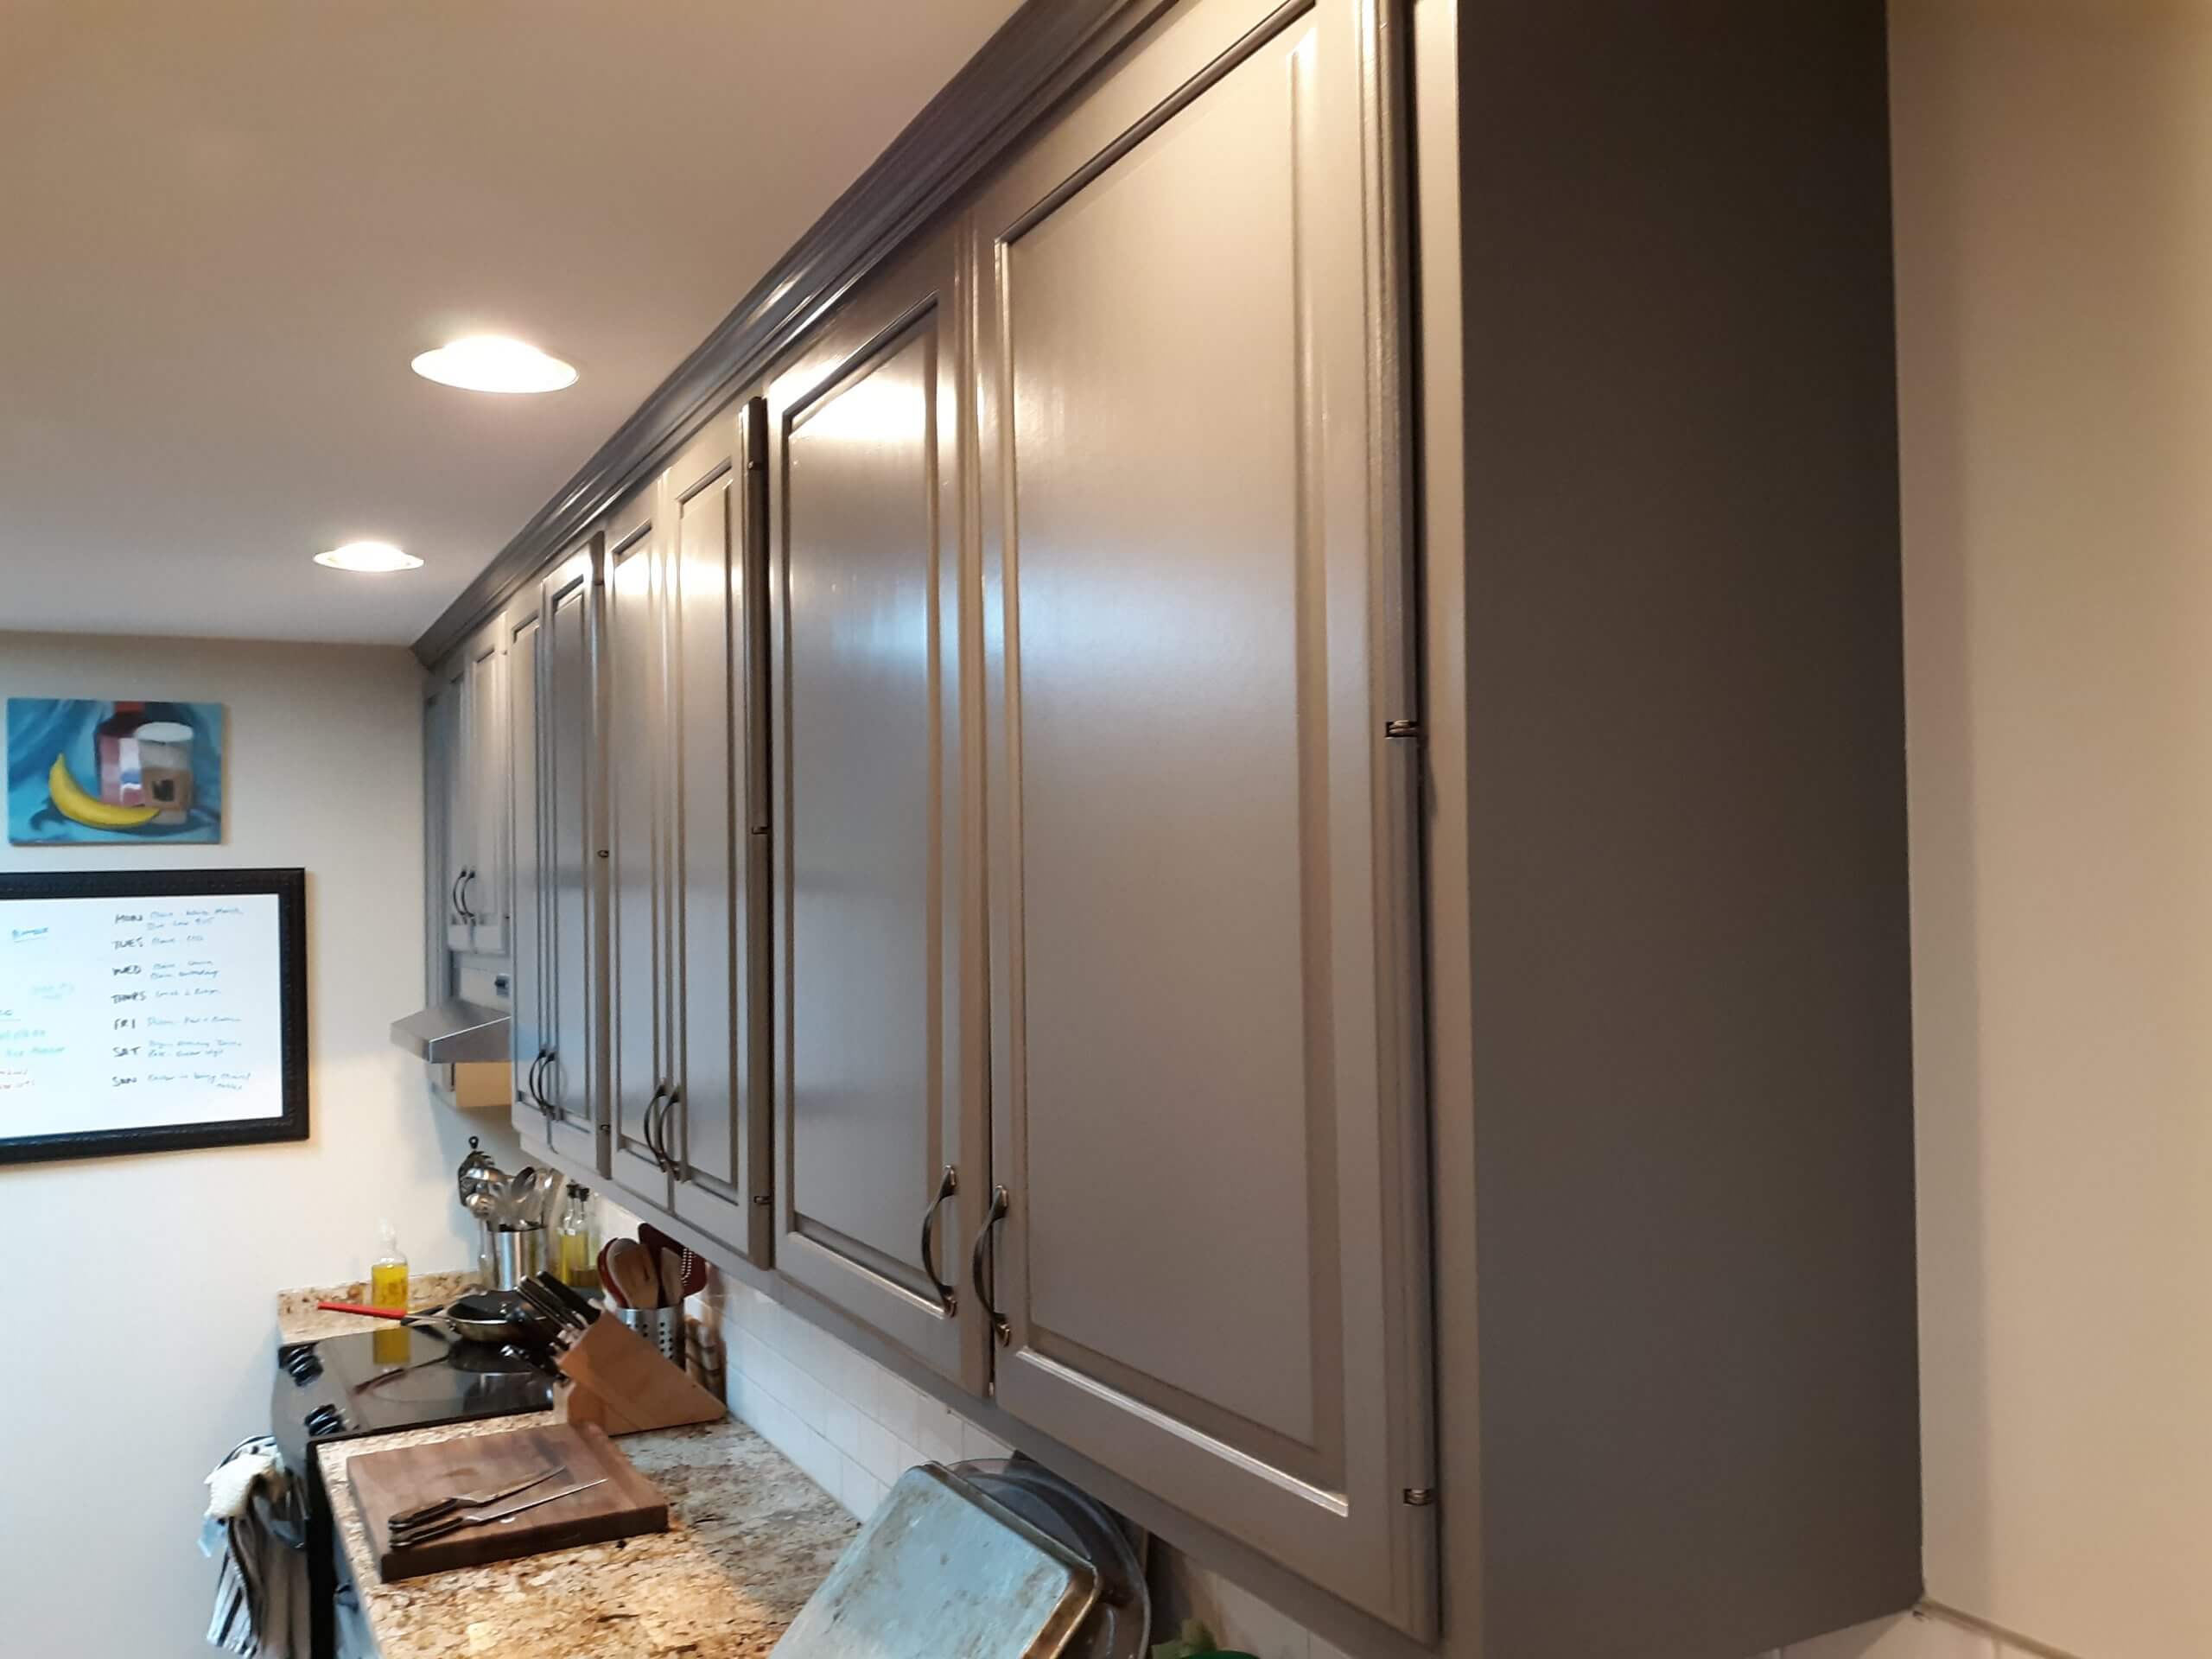
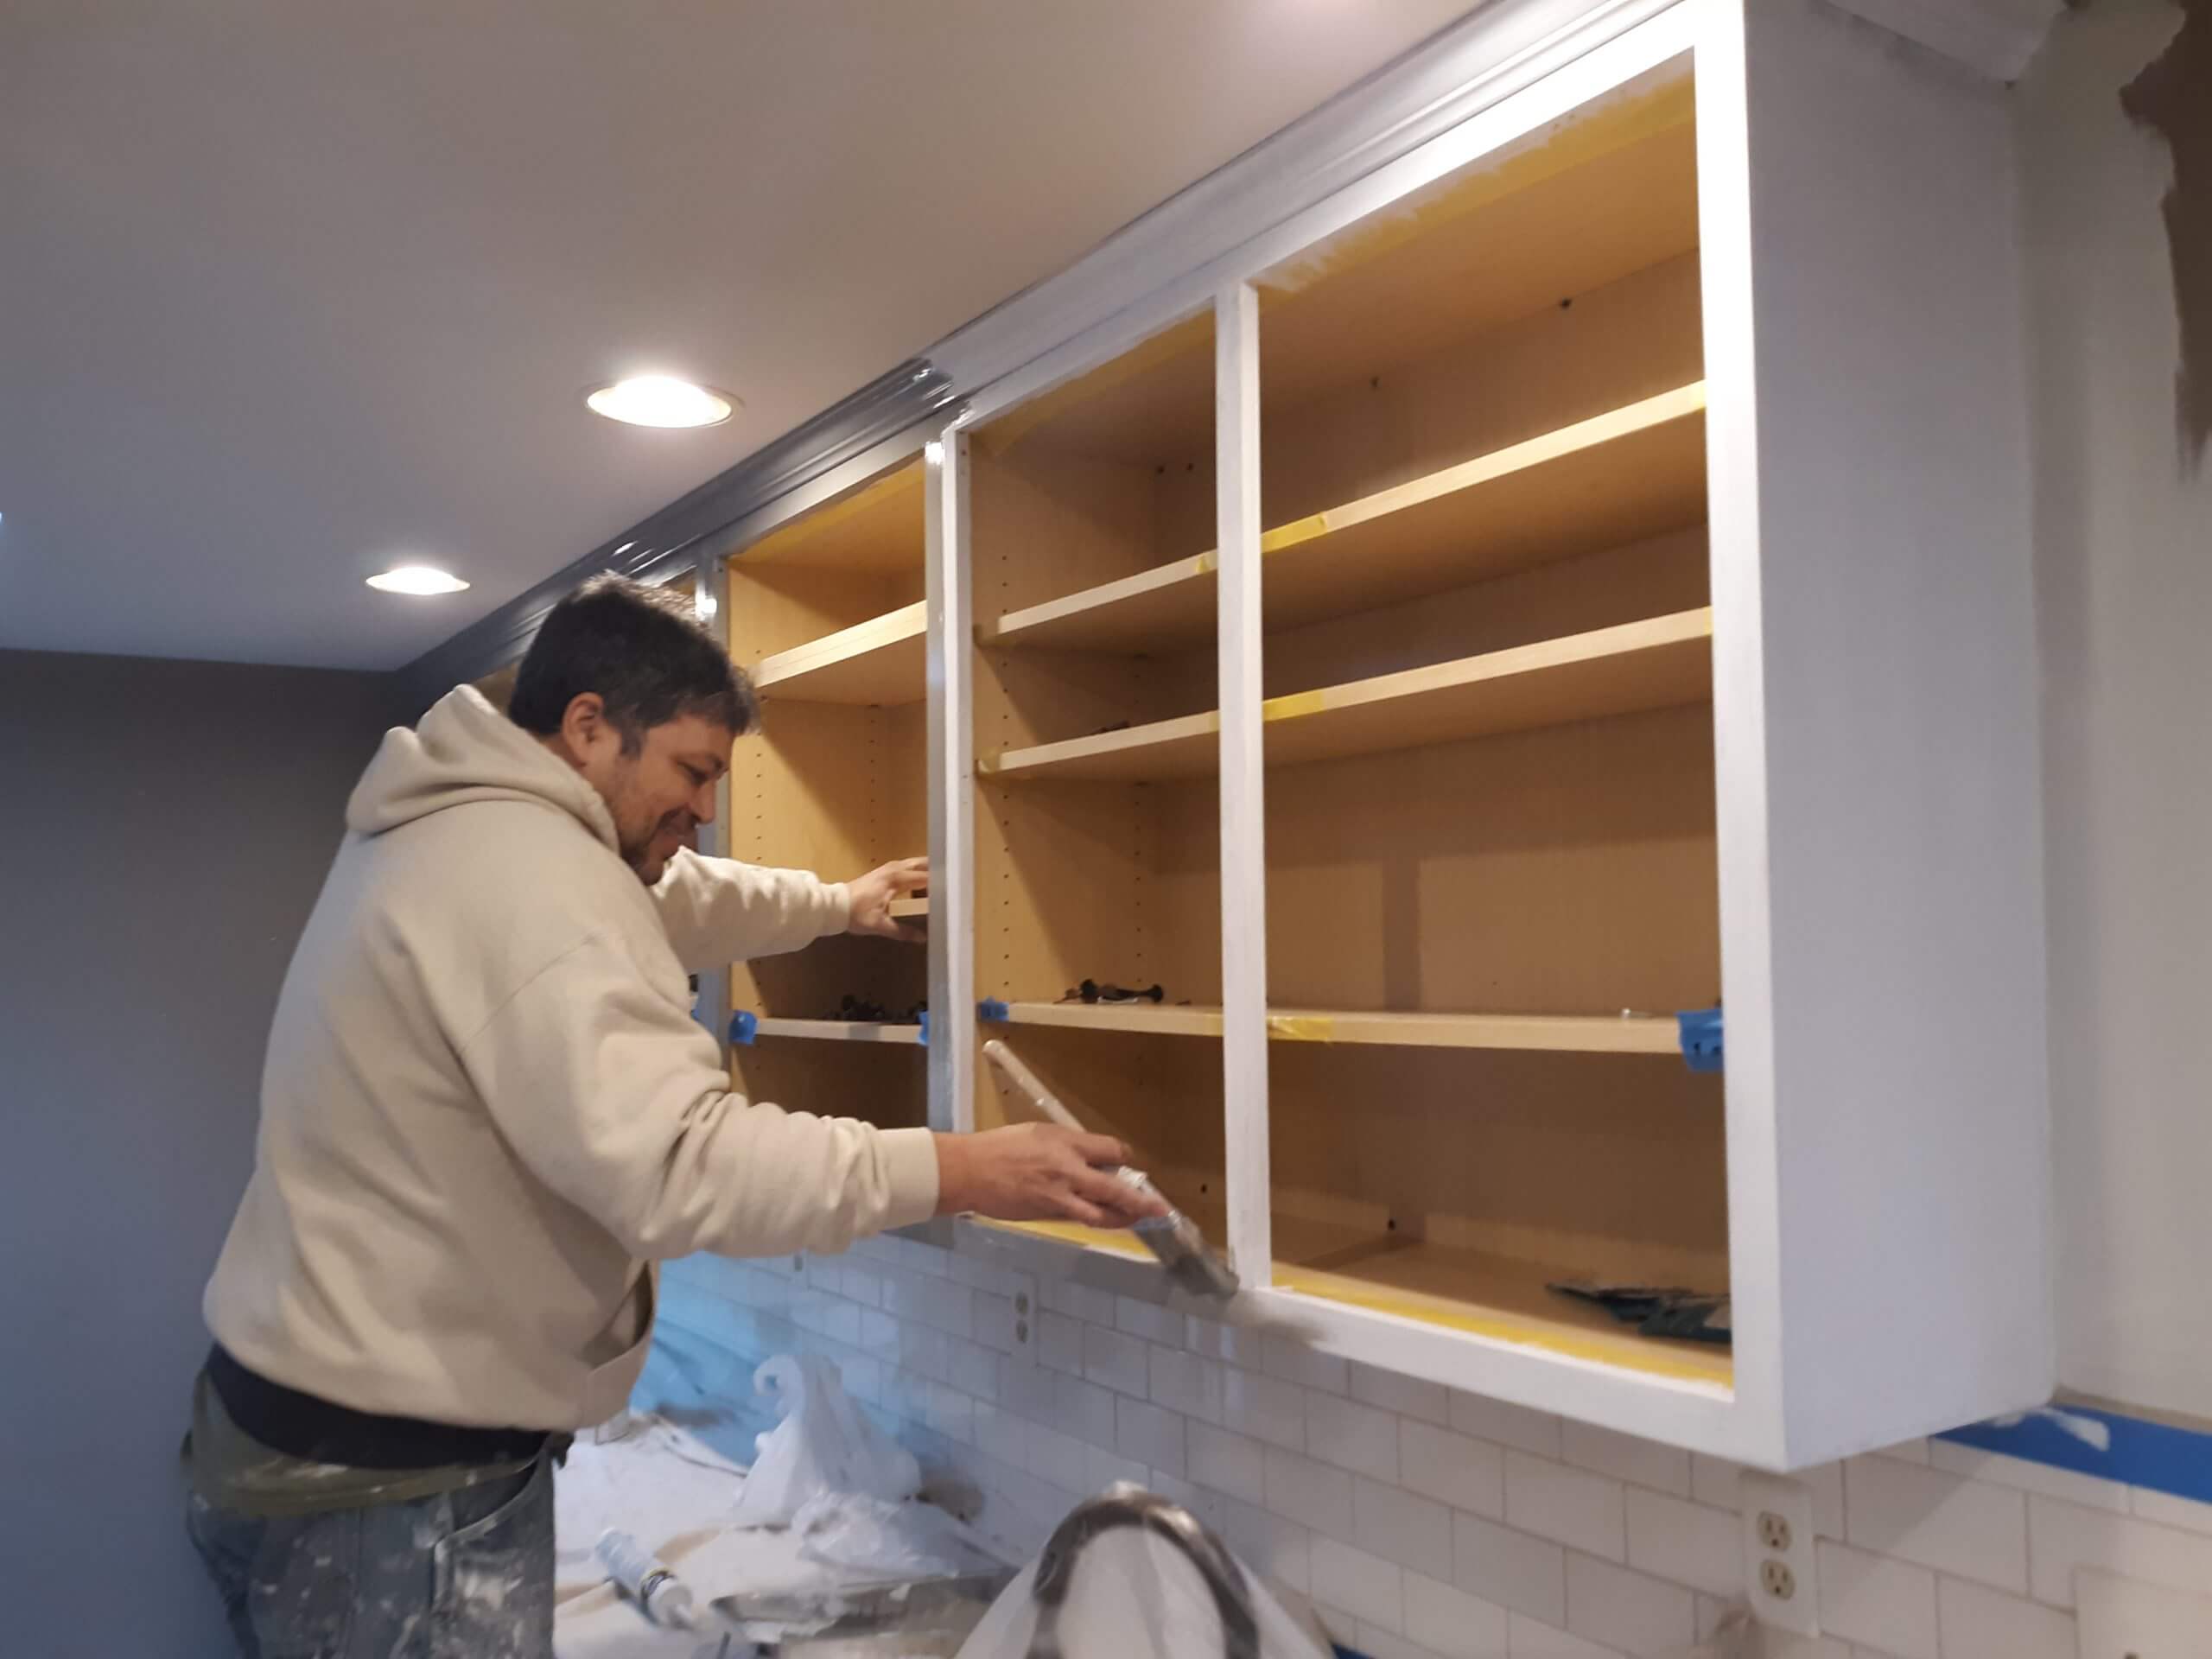
There is fewer better ROI for a kitchen facelift than painting your kitchen cabinets. For most kitchens, the cabinets occupy most of the wall space.
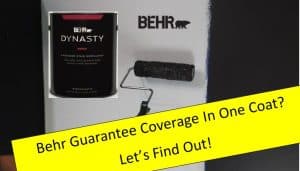
The Ultimate Coverage Test Challange The Behr One Coat Coverage Guarantee states that if any of their 1,000 colors are applied, it will hide or